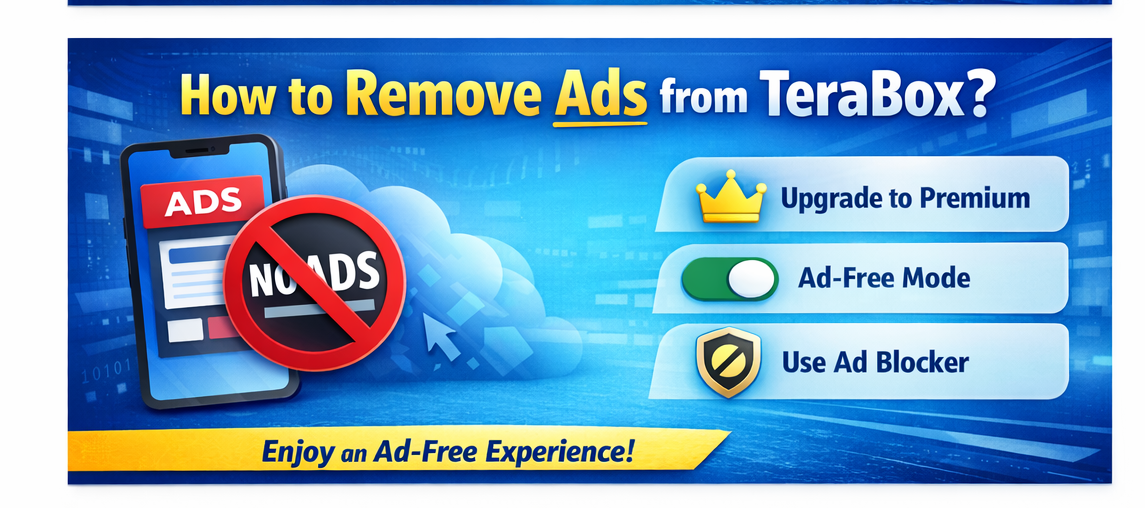
How to Remove Ads from TeraBox?
In today’s fast-paced digital world, people rely heavily on cloud storage to manage their important files, documents, photos, and personal data. While cloud services make life easier, excessive advertisements can quickly become frustrating and disturb productivity. Remove ads from TeraBox and enjoy a smoother, distraction-free cloud storage experience. This guide covers 3 effective methods for Android, iOS, and PC users to reduce or block TeraBox ads, including upgrading to Premium, using Private DNS, or trusted ad-blocking apps.
To solve this issue, TeraBox also provides a premium subscription, starting at around $2.49 per month, which removes ads and unlocks a smoother, distraction-free environment.
In this guide, we explain different TeraBox ads removal methods that can help users enjoy a cleaner and more comfortable cloud storage experience.
Looking ahead, TeraBox is expected to improve its user experience by offering better customization options, enhanced privacy controls, and more flexible subscription plans. Future updates may also focus on reducing intrusive ads in the free version or providing limited ad-free access for loyal users. Until then, understanding the available ads-removal methods can help users maintain productivity and enjoy cloud storage without constant interruptions.

Three Simple Methods to Remove Ads from TeraBox on Android
Ad blocking is generally easier on Android devices compared to other platforms. Users of the free Remove Ads from TeraBox version often encounter frequent and annoying advertisements that disrupt their experience. Fortunately, there are three effective methods available to reduce or block ads in the TeraBox app. By using these approaches, users can enjoy a more comfortable and mostly ad-free cloud storage experience.
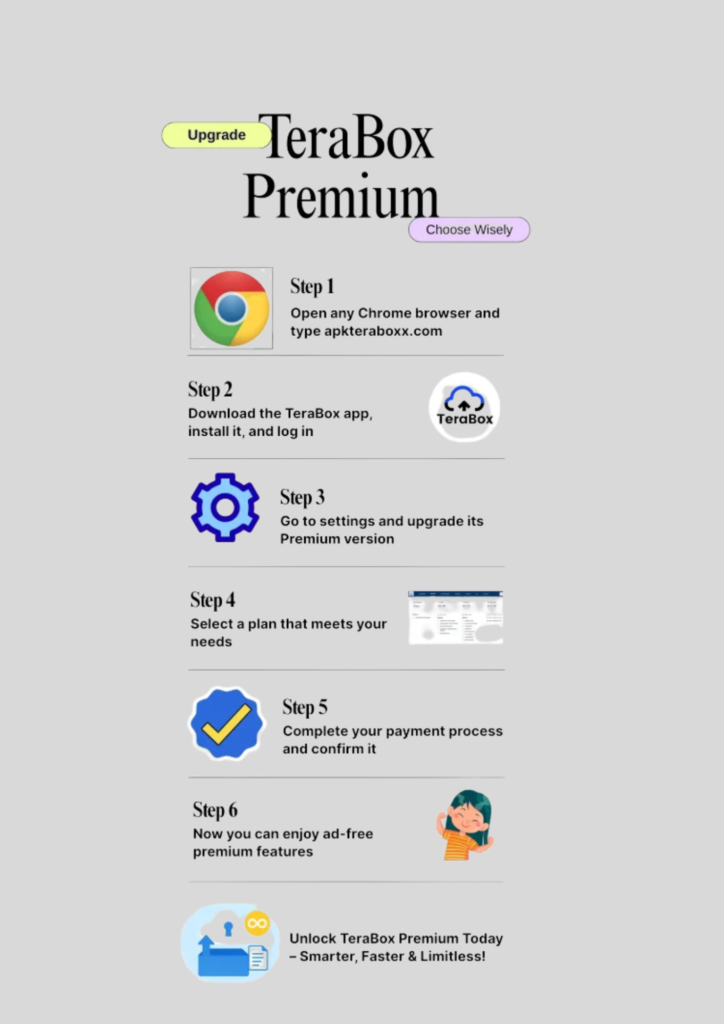
Method 1: Upgrade to TeraBox Premium (Official & Safest Way)
The safest and most reliable way to remove ads is by upgrading to the TeraBox Premium plan. The premium version completely removes advertisements and offers a smoother, faster user experience.
Benefits of Premium:
- No ads at all
- Faster download speeds
- Better file management features
Steps:
- Open the TeraBox app
- Go to your profile section
- Select Upgrade to Premium
- Complete the payment process
Method 2: Use Private DNS (AdGuard DNS Method)
Android allows users to block many Ads from TeraBox at the system level by using the Private DNS feature. This method is free and does not require installing any additional apps.
Steps:
- Open Settings on your Android device
- Go to Network & Internet
- Tap on Private DNS
- Select Private DNS provider hostname
- Enter:
dns.adguard.com - Save the settings and restart your phone
Why it works:
- Blocks many background and banner ads
- Reduces interruptions in the TeraBox app
- No extra apps required
Note: Some in-app ads may still appear, but their frequency is greatly reduced.
Method 3: Use a Trusted Ad-Blocking App
Several reliable ad-blocking apps are available on the Google Play Store that can block ads inside apps, including TeraBox.
Popular ad blockers include:
- AdGuard
- Blokada
- DNS66
How to use:
- Install a trusted ad-blocking app from the Play Store
- Open the app and enable protection
- Allow the required VPN or DNS permissions
- Open TeraBox and check the difference
Advantages:
- Blocks ads across multiple apps
- Easy to enable or disable
- Provides more control over ad filtering
Always avoid unknown or modified ad-blocking apps, as they may pose security or privacy risks.

Which Method Should You Choose?
Final Thoughts
Removing or reducing ads in TeraBox on Android is quite simple if you choose the right method. For a completely ad-free and secure experience, the Premium version is the best option. However, if you prefer a free solution, using Private DNS or a reliable ad-blocking app can significantly improve your experience.
FAQs-Frequently Asked Questions